Week 18: Neck Restriction Ties
Many variations of arm positions add the challenge of restricting the neck as well. This increases the sensations and the risks of the tie significantly. That said, with controlled ties creating indirect restriction, it is possible to explore some of those sensations progressively in a safer way.
We recommend reviewing the chapters on the anatomy of breathing and the neck before jumping into these ties to be more knowledgeable about the risks. Negotiate the boundaries thoroughly and plan some non-verbal communication strategies. Keep your cutting tool close and be ready to untie quickly. It is recommended to avoid a tight rope fixed around the neck. Never explore with those ties alone; this is how people die from bondage.
The goal of this week is to explore with indirect restriction of the neck with the upper body and discover what sensation can be experienced with those ties.
Activities
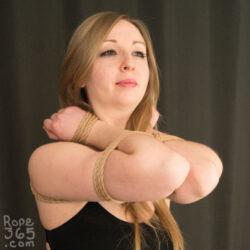
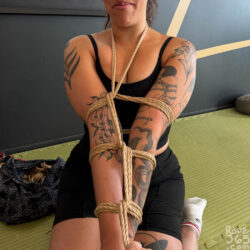
 Day 120: Neck to Arms Together in Front – Try connecting the neck and the arms parallel in front. The variation starting with the supermiddle is often called Greeting tie or Aisatsunawa 挨拶縄 as it is an introduction to connective ties in some styles. Placing the rope at the base of the neck and keeping an even pressure will help mitigage the risk of this tie. Day 120: Neck to Arms Together in Front – Try connecting the neck and the arms parallel in front. The variation starting with the supermiddle is often called Greeting tie or Aisatsunawa 挨拶縄 as it is an introduction to connective ties in some styles. Placing the rope at the base of the neck and keeping an even pressure will help mitigage the risk of this tie.
Inspirations and Resources |
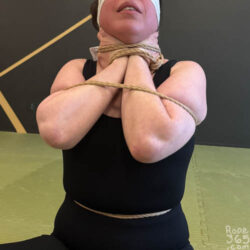
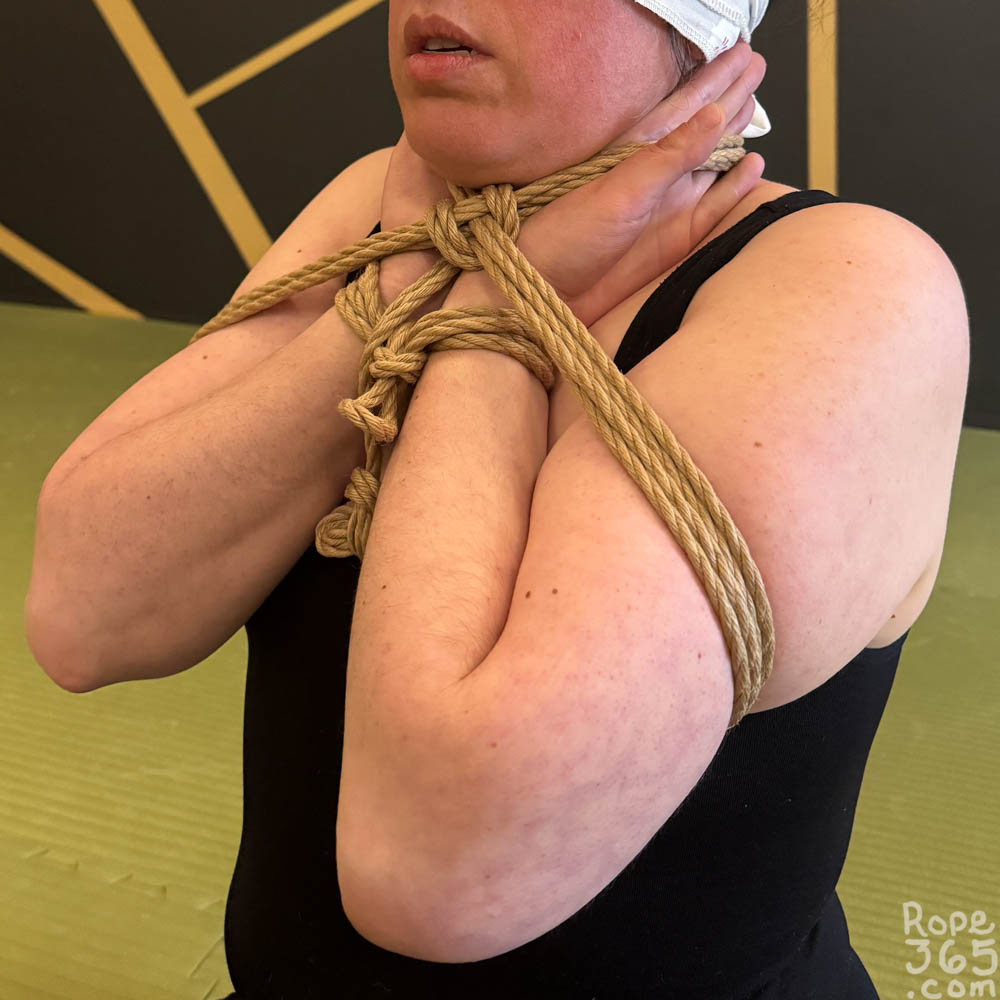 Day 121: Knuckles on Neck – Tie the hands to the neck with the palm facing out. You’ll have to be gentle with this one as it can interfere with both the breathing and blood circulation to the head. Day 121: Knuckles on Neck – Tie the hands to the neck with the palm facing out. You’ll have to be gentle with this one as it can interfere with both the breathing and blood circulation to the head.
Inspirations and Resources
|
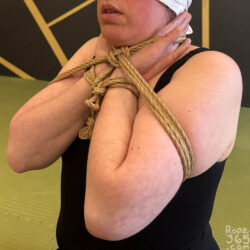
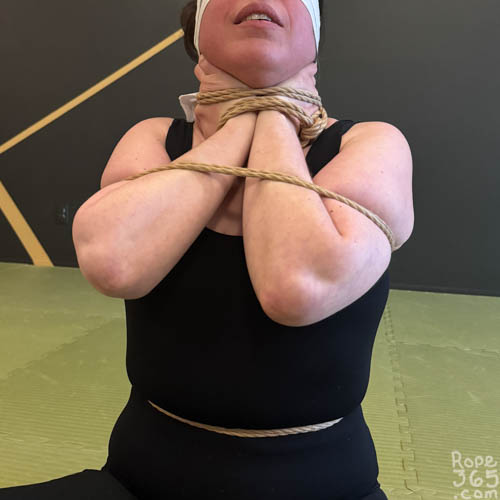 Day 122: Palms on Neck – Wrapping the neck with the hands and wrapping on top of it creates and soft and intense way to create indirect pressure. It is interesting that the person in rope can adjust the level of pressure, as long as there is It is some space in the tension for the person in rope to create a gap whenever the need to get a break. Day 122: Palms on Neck – Wrapping the neck with the hands and wrapping on top of it creates and soft and intense way to create indirect pressure. It is interesting that the person in rope can adjust the level of pressure, as long as there is It is some space in the tension for the person in rope to create a gap whenever the need to get a break.
|
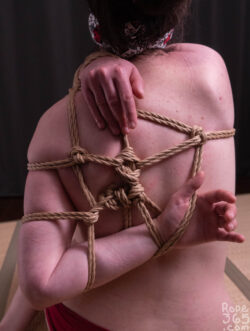
 Day 123: Self-Choking Riffle Tie – A variation of the riffle tie but with the arm wrapping around the neck. This one can be traced to older references in hojōjutsu documents. Day 123: Self-Choking Riffle Tie – A variation of the riffle tie but with the arm wrapping around the neck. This one can be traced to older references in hojōjutsu documents.
Inspirations and Resources |
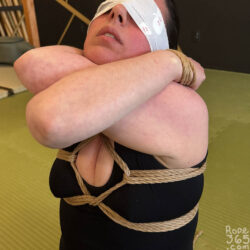
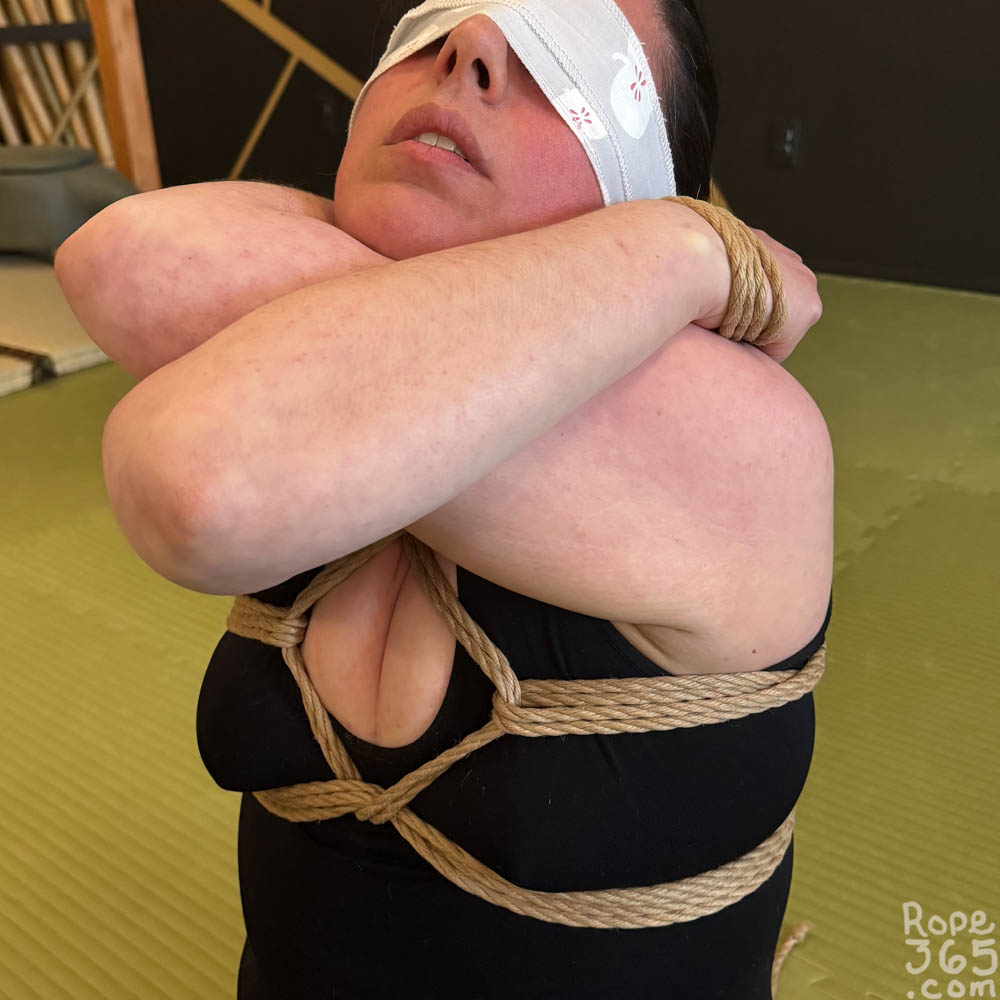 Day 124: Double Neck Hug – Wrap the arm around the neck and tie it to the back, then bring the second arm around for a tighter position. Day 124: Double Neck Hug – Wrap the arm around the neck and tie it to the back, then bring the second arm around for a tighter position.
Inspirations and Resources
|
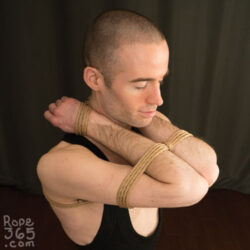
 Day 125: Forearms on Neck – Bring the wrists behind the neck, and tie the elbows together in front. This position forces the forearms to press on each side of the neck, creating a self-choking effect. Make sure the distance between the wrists gives enough space to the neck, and be ready to untie quickly if needed. Day 125: Forearms on Neck – Bring the wrists behind the neck, and tie the elbows together in front. This position forces the forearms to press on each side of the neck, creating a self-choking effect. Make sure the distance between the wrists gives enough space to the neck, and be ready to untie quickly if needed.
Inspirations and Resources
|
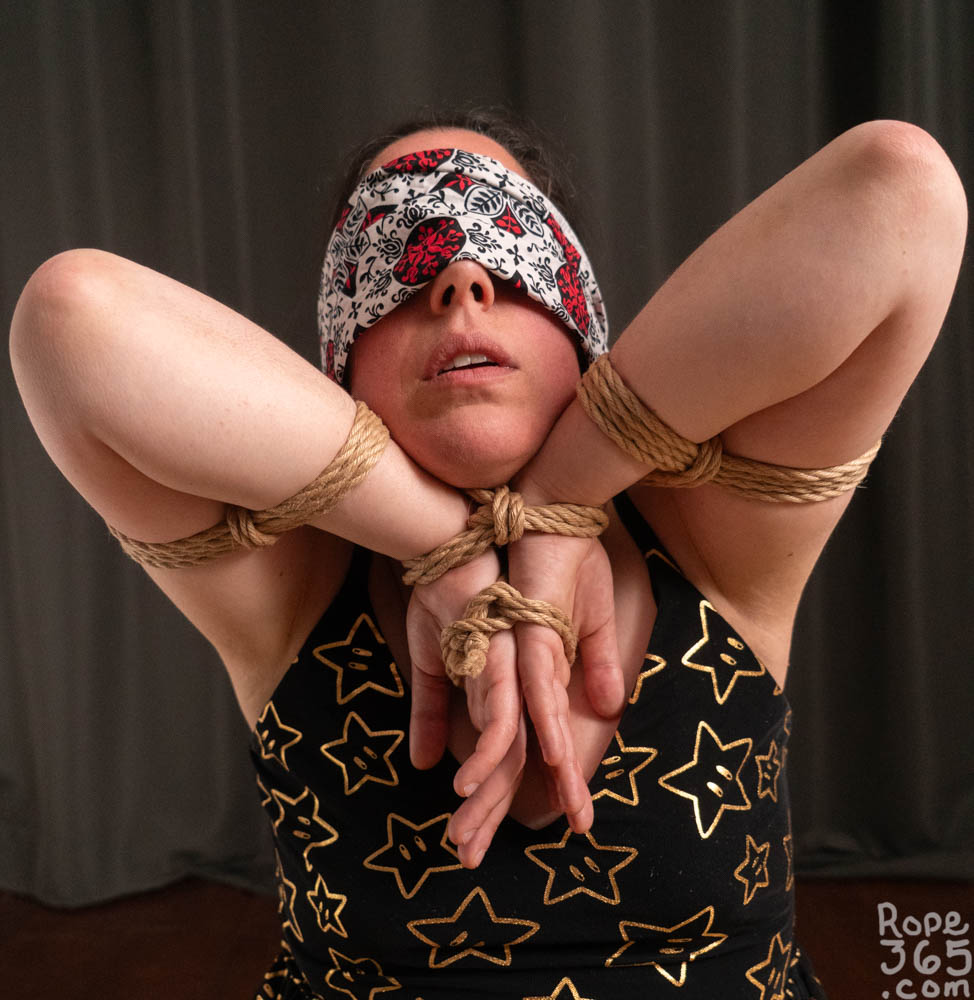 Day 126: Elbow-Up Choking Tie – By tying the hands together in the front and up and pulling the elbows upward in the back, you can create restriction around the neck. Note that this position can be hard to maintain so be ready to untie quickly. Day 126: Elbow-Up Choking Tie – By tying the hands together in the front and up and pulling the elbows upward in the back, you can create restriction around the neck. Note that this position can be hard to maintain so be ready to untie quickly.
|
Gallery


Inspirations and Resources
Got more resource suggestions? Write it in the comments!
Or return to Summer for more options.


Leave a Reply