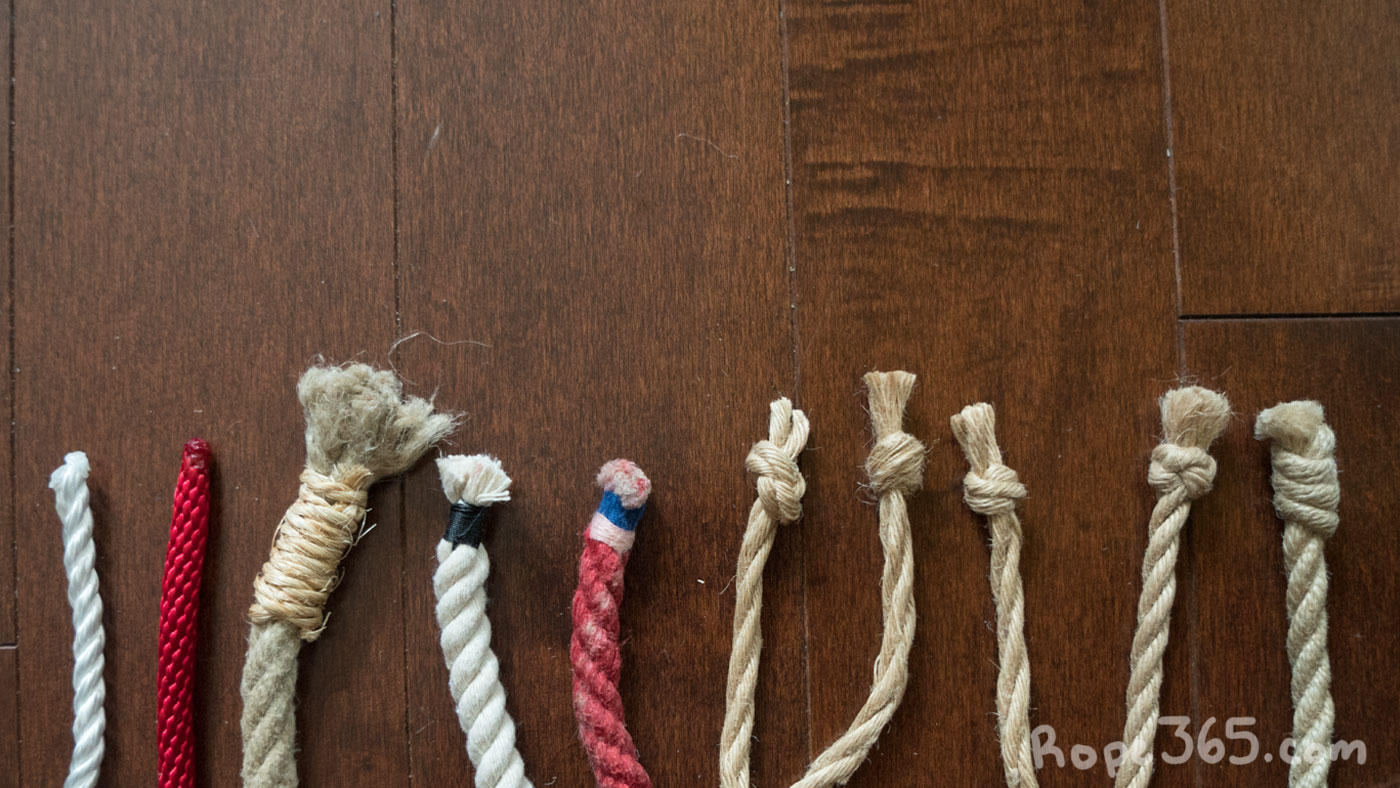
To prevent the rope from unravelling, the ends need to be tied up. There are different methods to finish the rope ends. Our choice will depend on the type of rope we use and on our preferences when it comes to tying techniques.
Rope Ends Techniques
Melting
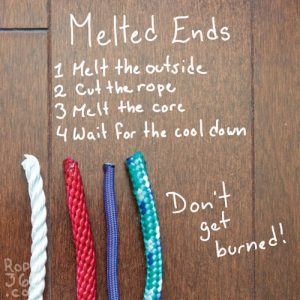
If you use synthetic rope such as nylon or MFP, melting the rope is definitely the easiest way to end the rope. Just place the tip of the rope in a flame (lighter or similar device) and rotate it gently to melt the whole circumference. Protip – melt the rope before cutting it, then melt it again. Warning: avoid overcooking the rope, and be careful not to burn yourself from the tip or from plastic drips. This technique works only on synthetic fibre.
Whipping
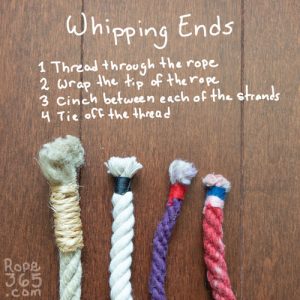
You can use a thread and needle to sew the tip of the rope to create a whipping. The most common one is the sailmaker whipping, but there are many designs. It is common to use colourful whipping to create a colour code (ex: identify rope size). It is also common to combine whipping with other techniques.
Overhand Knots
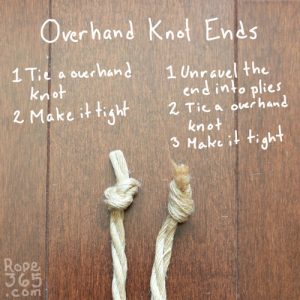
Doing a simple overhand knot is a very quick way to end the rope. It is also practical as you can easily undo and redo it when doing maintenance. To make it more compact, you can untwist the rope before making the knot and use pliers to pull it very tight.
More Stopper Knots
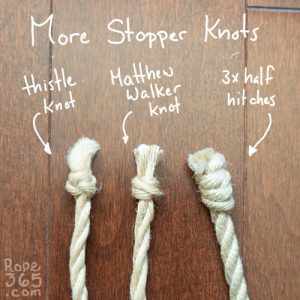
There are several more complex knots that can be used to tie the end of a rope. Many are based around the crown knot because it works well with the three-stranded ropes. Some of the most popular knots are the thistle knot and the Matthew Walked knots. These knots tend to be smaller and reduce the snag when tying, but require more work to tie, which can be an inconvenience when doing maintenance.
More Options!
There are a few other ways to tie up the end of your rope. Shrink wrap will create an effect similar to whipping, fast to make but not as strong as other methods. You can also look at rope splices to create different ending shapes, such as the eye splice that creates a loop at the end of the rope.
Comparing Ending Techniques
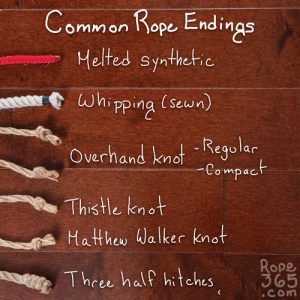
There are many characteristics that we can look at to compare the different types of ending.
Easy to maneuver – The slicker the end it, the easier it will be to pull the rope through. Rope with a more bulky ending tends to snag and will require more care when handling.
Easy to make – How much time and skills does it take to create this type of ending?
Solidity – Can this type of ending untie accidentally?
Easy untying for maintenance – As the rope ages, we may want to undo the ending to adjust the tension between the strands. Knots can be untied, whipping needs to be redone, and melted rope must be cut.
Extension speed – Many extension techniques require knots at the end of the rope. If you already have knots tied on your rope, you can extend rope really quickly; otherwise, you will need to add knots or use an alternate technique.
Tidy finish – Having knotted ends also allows you to quickly tuck the end of the rope in a tidy way and prevent dangling rope.
Types of rope – Not all techniques work on all types of ropes, melting the rope is only possible with material that melts, knots will hold better on rope with more grip.
Pros and cons of different rope endings
| Characteristics | Melting | Whipping | Overhand Knots | Compact Knots |
|---|---|---|---|---|
| Easy to maneuver, doesn’t snag | ++ | ++ | — | – |
| Easy to make | ++ | – | ++ | — |
| Solidity, doesn’t get untied accidentally | ++ | + | — | + |
| Easy untying for maintenance | — | – | ++ | – |
| Extension speed | — | — | ++ | ++ |
| Tidy finish | — | — | ++ | ++ |
| Types of rope | Synthetic only | All types of rope | Best on natural | Best on three strands |
Video Tutorial
You can enjoy Rope365 tutorial videos as ASMR or with audio instructions (vimeo only). Activate subtitles, transcript and/or audio description (vimeo only) for instructions. Please like the videos and subscribe to the YouTube and Vimeo channels to help them gain more visibility. The creation of Rope365’s free videos is made possible by the support of Rope365’s patrons on Patreon.
Video References
We compiled a YouTube playlist with various videos on this topic; let us know if you find any others we should add to it. Note that video references may display risky or unstable techniques; viewer discretion is advised.
Practice Time!
Try different rope endings and take notes on what you liked and didn’t like in each.
Exploration ideas
- Try burning the tip of different ropes to see what melts and what doesn’t.
- Try different materials to tie whipping.
- Compare the size of different types of knots.
- Try making knots more compact by using pliers or dipping the end of the rope in water
- Make a set of rope with each rope ended differently; try tying and untying with it for a while.
Inspirations and Resources
- Rope Shopping by Rope365
- A great little stopper knot tutorial by Mr Luckies Rope
- Rope Ends by The Dutchy
- Notes on whipping rope by ben_not_solo
- How to Tie a Sailmaker’s Whipping by Troop Leader
- Compact overhand stopper knot video by The_Link
- Sailmaker’s Whipping video by Johnny Debt
- Sailmaker’s Whipping by Animated Knot
- Thistle knot by Dorian Meshaw
- How to knot the ends of your rope by deGiotto Rope
- MOSAFIR Endknoten für Dein Seil by Shoga Shibari
- Matthew Walker knot by nekonekokinbaku
Or return to The Rope for more options.
Credit: R/P: Ebi McKnotty
One response to “Day 45: Ends”
-
At the ends of the ropes, I use a double wall knot. If you tighten this knot tightly, it becomes compact, beautiful, and does not untie itself.

Leave a Reply