The kimono tie is inspired by the Japanese tasuki, which is a technique to tie the kimono sleeves that creates a X in the back. For this tie, we create a X shape both in front and in the back. Rope come across the forearms which has the benefice of creating support.
Basic Kimono Tie
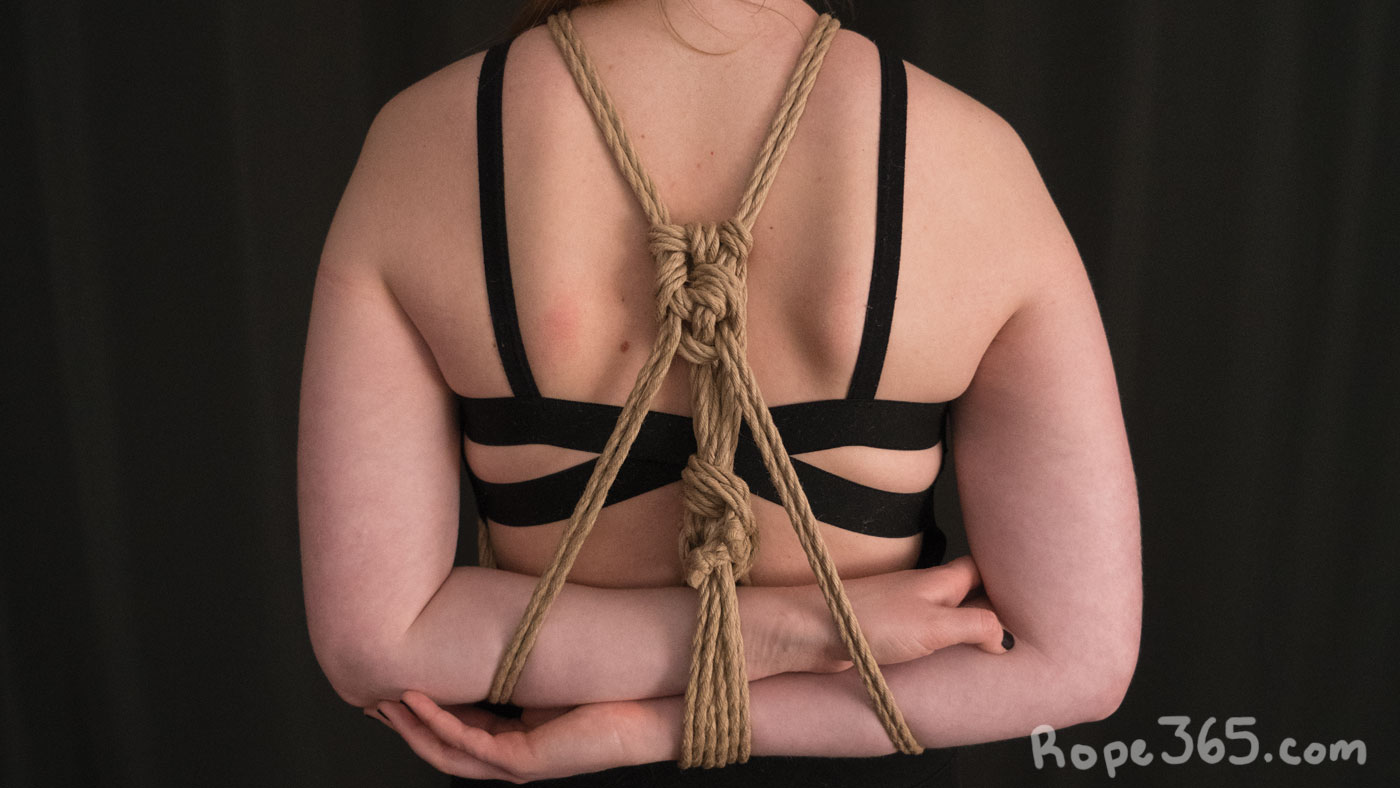
The base of the kimono tie creates a stem that can be used to create more complex ties. It starts just like a regular box tie with a single column tie around the wrists, then goes over the shoulder instead.
If we make sure not to trap the fingers against the forearms, the base of the tie is low risks but remains quite escapable without expanding it with wraps on the chest or on the arms.


Kimono Box Tie
Once you have the base of the kimono tie in place, you can use the structure as the stem and create a box tie pattern over it. In this example, we are using the same technique than day 30 to create both wraps.
See the safety tips of day 29 and 30 as they continue to apply to this design.


Practice Time!
Create your own kimono tie by combining the base with your favorite box tie or chest harness design.
Self evaluation checklist:
- Frictions are tight and compact with no undesired twists
- Tension is even across the tie
- Is the tie symmetric?
- Pull the tie in different directions; how does it hold?
Exploration ideas:
- Try placing the X in front at different height, middle of the chest, closer to the neck, on the belly
- Combine the tasuki with different box tie idea, upper wrap only, complex pattern, chest wraps
Solo
- How can you modify this tie to make it an interesting self-tie?
Inspirations and Resources
Coming soon!
Credit: M: Miss_Soffia R/P: Ebi McKnotty