Day 37: Ankles to Chest

Using a stable structure allows to create ties that can be very sustainable. Chest harnesses and box ties makes excellent structure to attach to to create different hog tie design. Let’s explore the different possibilities of attaching limbs to an existing tie.
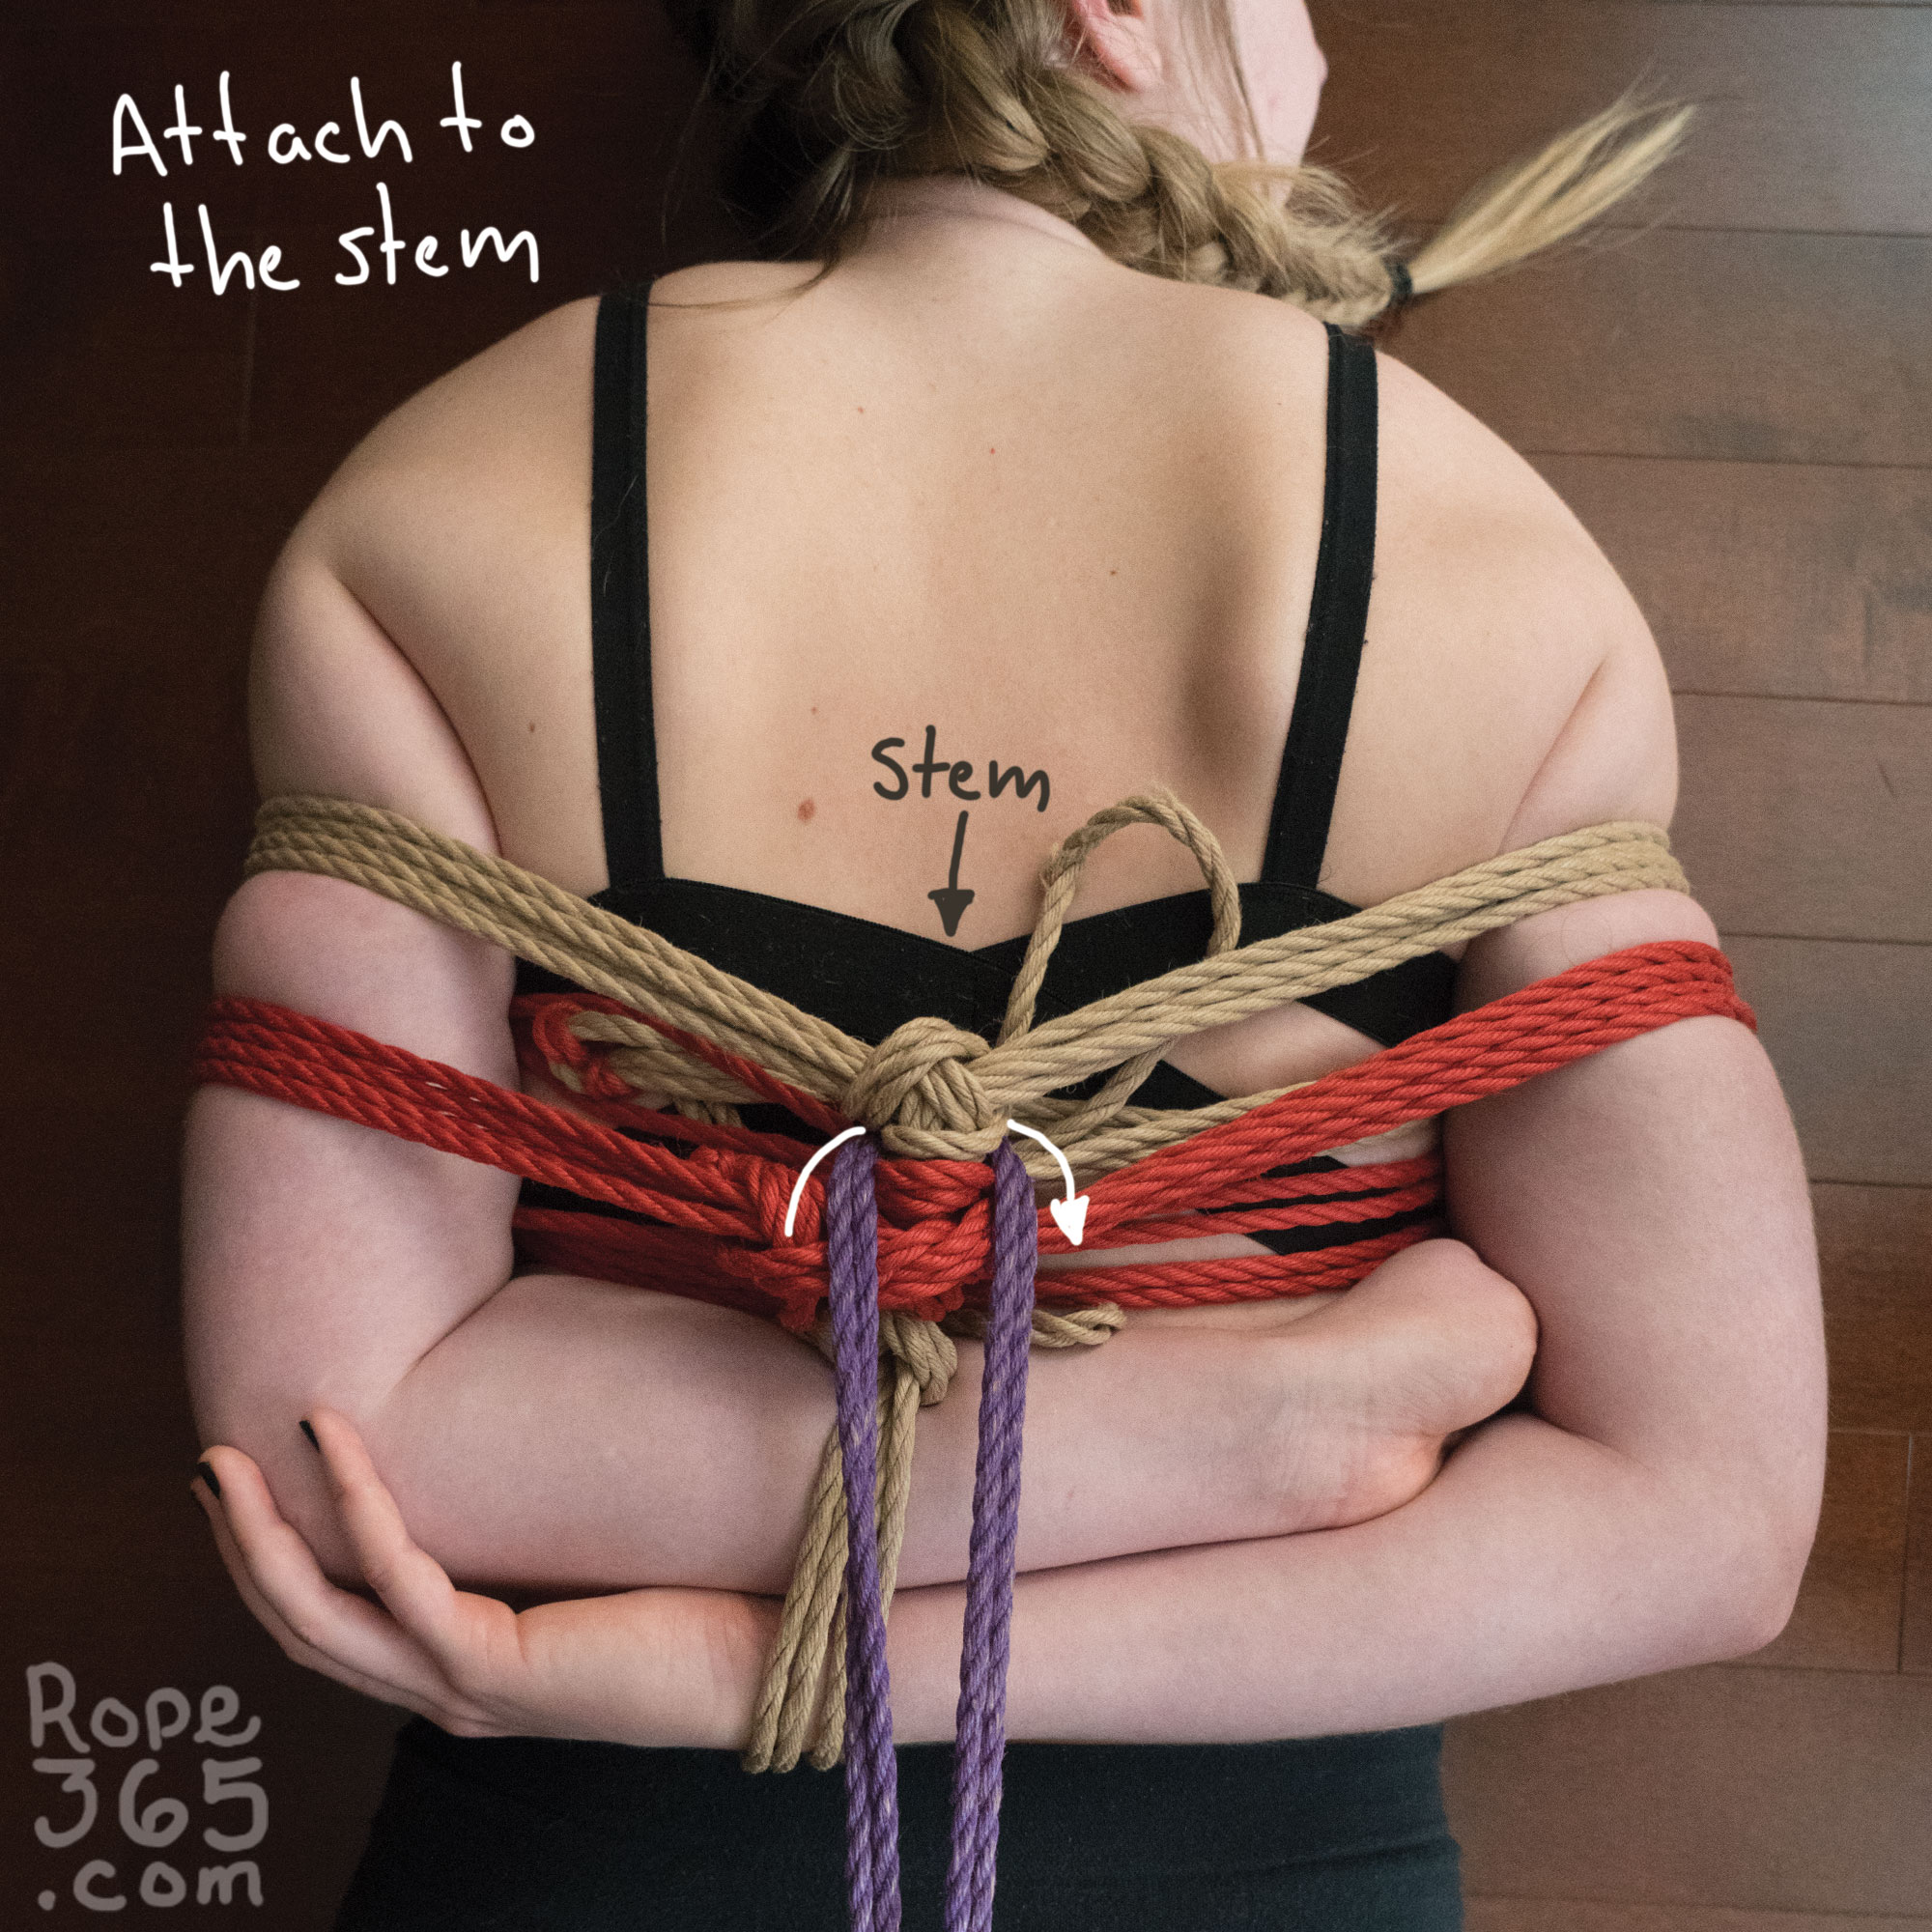
Tying to a Chest Harness
All the structures from Week 3 and Week 5 makes good candidate to tie other parts of the body to it. Most structure design features a stem in the back that will give different options on where to attach. It is interesting to try tying to different places on the harnesses and experiment how the load is distributed on the body.
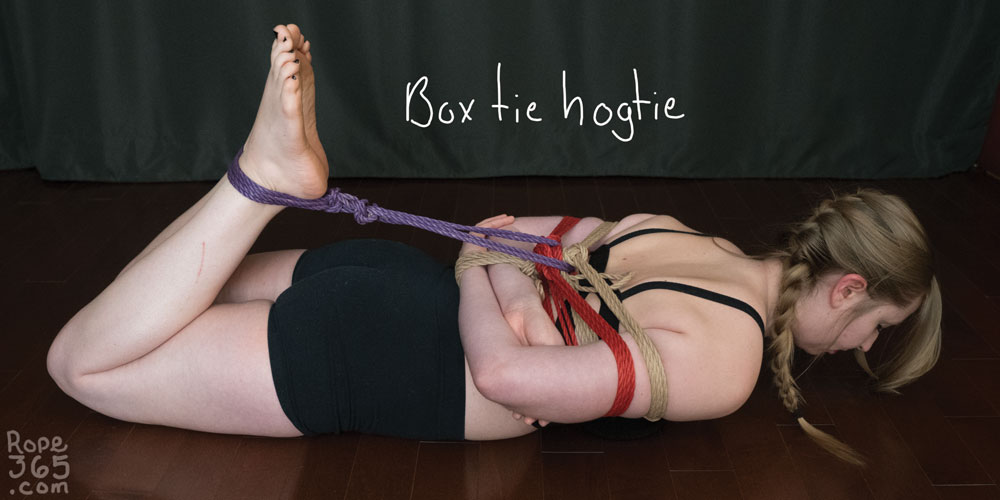
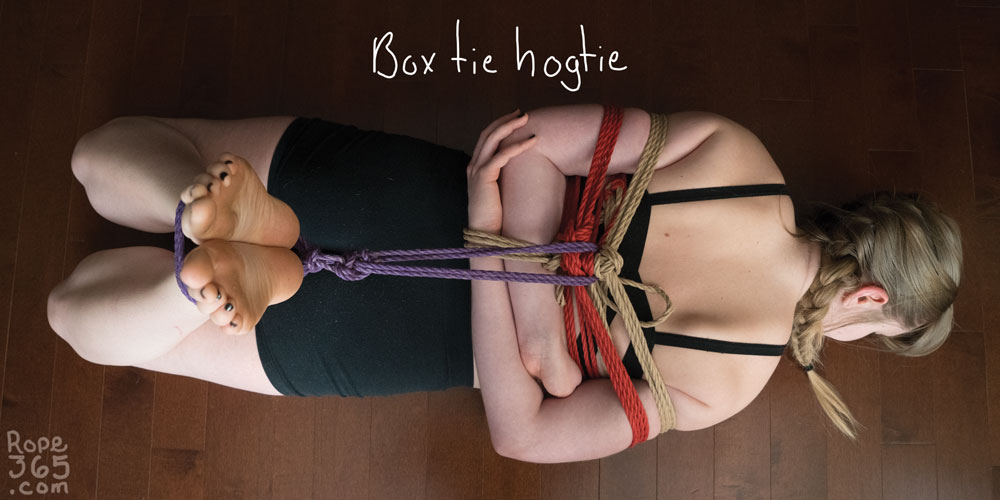
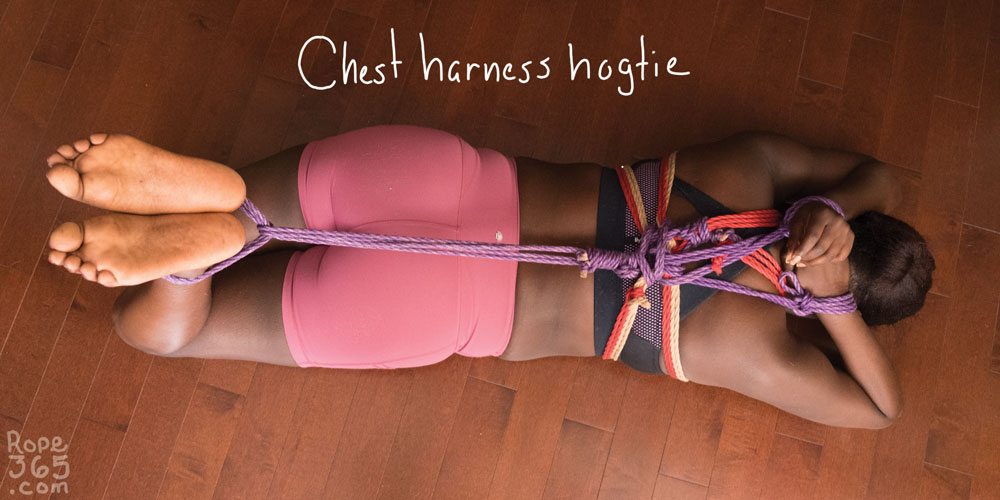
Chest Harnesses Hog Tie
Structure that load directly on the chest have a higher tendency to restrict breathing but are less likely to cause nerve issues. We should still look out for pressure on the top of the shoulder and in the armpit. The box tie is more challenging when it comes to mitigating nerves impingement, check the guidelines from Week 5 and keep monitoring the hands ability to close and open while in the tie.

Practice Time!
Explore different ways to attach the ankles to the back of a chest harness or a box tie.
Self-evaluation checklist
- The attachment point doesn’t slide or move
- Pressure is distributed on several points on the body
- The connecting line(s) don’t press on exposed nerves on the body
- Pull the tie in different directions; how does it hold?
Exploration ideas
- Try to attach to different location on the harness. On the stem, the wraps, etc.
- Compare different upper body tie designs, minimal tie vs complex structure, chest harness vs box tie
- Explore with different level of tension
- Compare between starting from the ankles and attaching to the structure, versus starting from the structure and catching the ankles
Inspirations and Resources
Coming soon!
Credit:
Leave a Reply