
Tying the lower and upper body together allows us to create interesting restrictive positions. We can play with bending the body in different directions to create different levels of tension in the body.
The goal of this week is to get a better understanding of what makes a tie restrictive and explore different positions that immobilize the body.
 Day 148: Running Person – Alt. Hikyaku shibari 飛脚縛り. Lying on the ground, tie one knee to the chest and pull the other ankle to the back. This allows you to create restriction by pulling the legs in opposite directions. Day 148: Running Person – Alt. Hikyaku shibari 飛脚縛り. Lying on the ground, tie one knee to the chest and pull the other ankle to the back. This allows you to create restriction by pulling the legs in opposite directions.
Inspirations and Resources |
 Day 149: Crossed Windmill – Lying on the ground, bring the lower leg on top of the other and pull them toward the back. This will create a pinning effect where one foot pushes on the other. Day 149: Crossed Windmill – Lying on the ground, bring the lower leg on top of the other and pull them toward the back. This will create a pinning effect where one foot pushes on the other.
Inspirations and Resources |
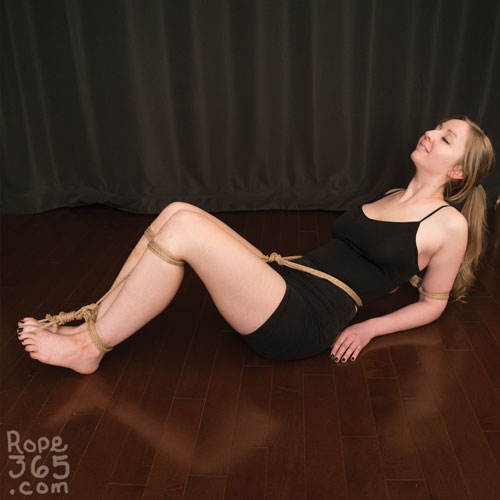
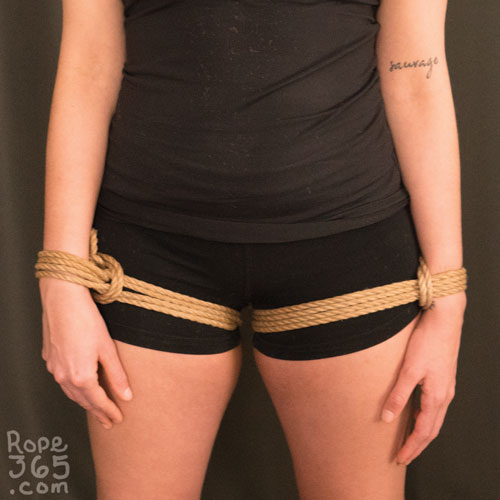 Day 150: Wrists to Hips – Keep the arms straight along the body and tie the wrists to the hips. You can continue up and tie the rest of the arms to the torso for more restriction. This is great to combine with tying the legs in a mermaid tie or other straight legs combinaison. Day 150: Wrists to Hips – Keep the arms straight along the body and tie the wrists to the hips. You can continue up and tie the rest of the arms to the torso for more restriction. This is great to combine with tying the legs in a mermaid tie or other straight legs combinaison.
Inspirations and Resources |
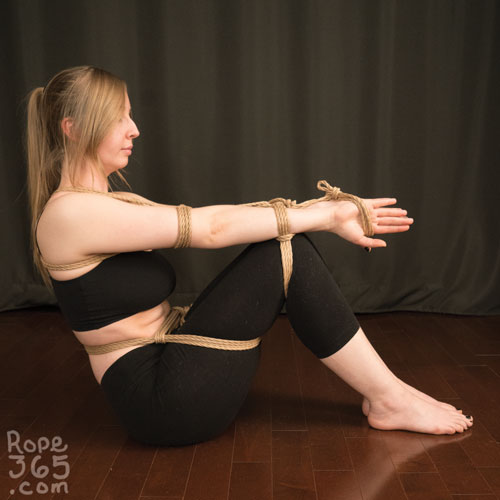 Day 151: Arms to Knees – Create restriction on both the upper body and lower body by tying the arms and the knees together. You can play with the directionality of the joins to vary the intensity of the tie. Day 151: Arms to Knees – Create restriction on both the upper body and lower body by tying the arms and the knees together. You can play with the directionality of the joins to vary the intensity of the tie.
Inspirations and Resources |
 Day 152: S-Shapes – Tie the knees to the chest or waist to bend the hips. From there you can progress with the ankles and upper body to continue the S-shape. For extra feelings of imbalance, you can try this tie standing up, making sure someone is around to catch the person who is tied up in case they fall. Day 152: S-Shapes – Tie the knees to the chest or waist to bend the hips. From there you can progress with the ankles and upper body to continue the S-shape. For extra feelings of imbalance, you can try this tie standing up, making sure someone is around to catch the person who is tied up in case they fall.
Inspirations and Resources |
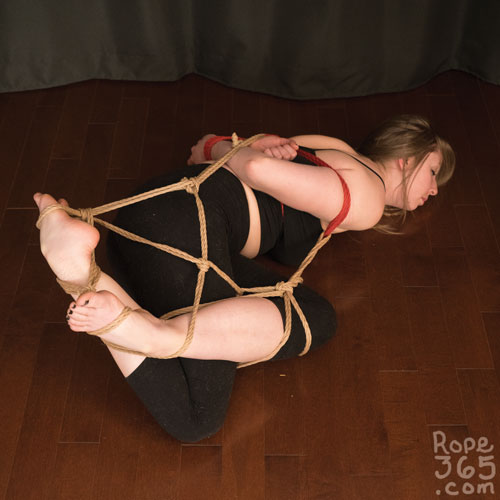
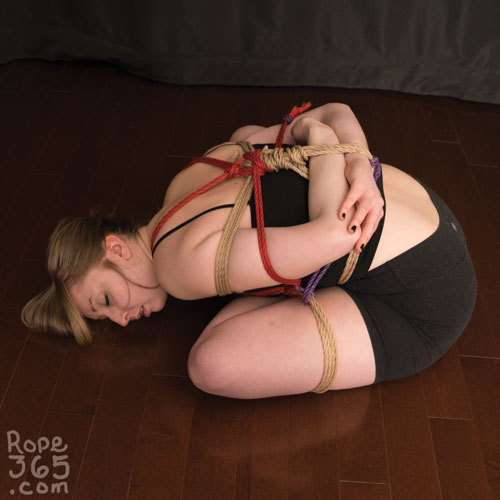
 Day 153: Package Tie – Alt. ball tie. Fold the body into a compacted shape and create a tie that binds the person into a ball. You can combine this tie with different arm positions, around the leg for a more protected feeling, or behind the back for more restriction. Day 153: Package Tie – Alt. ball tie. Fold the body into a compacted shape and create a tie that binds the person into a ball. You can combine this tie with different arm positions, around the leg for a more protected feeling, or behind the back for more restriction.
Inspirations and Resources
|
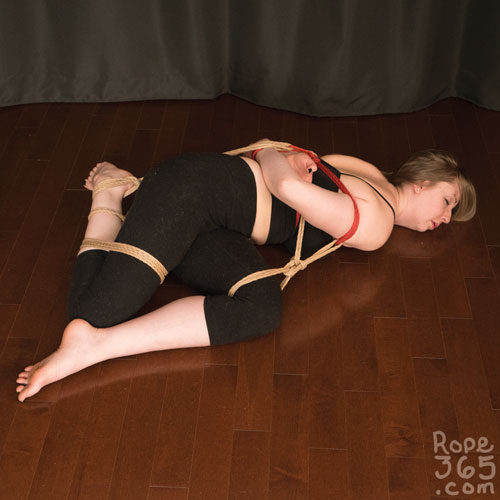
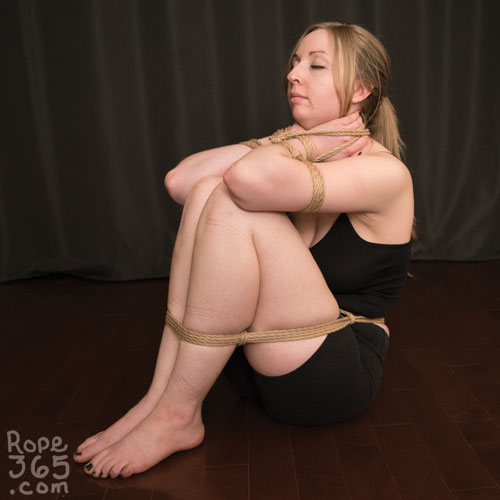
 Day 154: Shrimp Tie – Alt. ebi shibari 海老繰り or ebizeme 海老責め – A classic torture technique from the Edo period, when people were tied up and left to suffer until they admited to their crime. Tie the lower body in crossed leg position, then catch the upper-body to bring the torso forward as low as possible. You can use a chest structure to avoid tying around the neck. Bending forward makes breathing difficult and you have to be prepared to untie quickly. Day 154: Shrimp Tie – Alt. ebi shibari 海老繰り or ebizeme 海老責め – A classic torture technique from the Edo period, when people were tied up and left to suffer until they admited to their crime. Tie the lower body in crossed leg position, then catch the upper-body to bring the torso forward as low as possible. You can use a chest structure to avoid tying around the neck. Bending forward makes breathing difficult and you have to be prepared to untie quickly.
Inspirations and Resources
|
 Bonus: Hogtie Review– Wanna go back full circle with a study of restriction? Let’s go back to Week 6 and get a fresh look at it. Can you design your own? Bonus: Hogtie Review– Wanna go back full circle with a study of restriction? Let’s go back to Week 6 and get a fresh look at it. Can you design your own? |
Video References
We compiled a Youtube playlist with various videos on this topic, let us know if you find others we should add to this list. Note that video references may display risky or unstable techniques, viewer discernment is advised.
Gallery


Inspirations and Resources
- Coming soon
Or return to Summer for more options.