Munenawa 胸縄 (chest rope), gote shibari 後手縛り (tie with hands in the back), ushiro takate kote shibari 後ろ高手 小手縛り (tie with hands high in the back), TK (short for Takate Kote), box tie, etc. It has many names and even more variations, the chest harness with hands in the back.
Its long history puts it among the most classic ties of the Japanese bondage style. It is often used as a reference because its structure contains most of the Japanese bondage-style building blocks. Therefore, when tying it, you practice everything you need.
This week’s goal is to practice the basic box tie, experiment with it, decompose its structure and explore different variations.
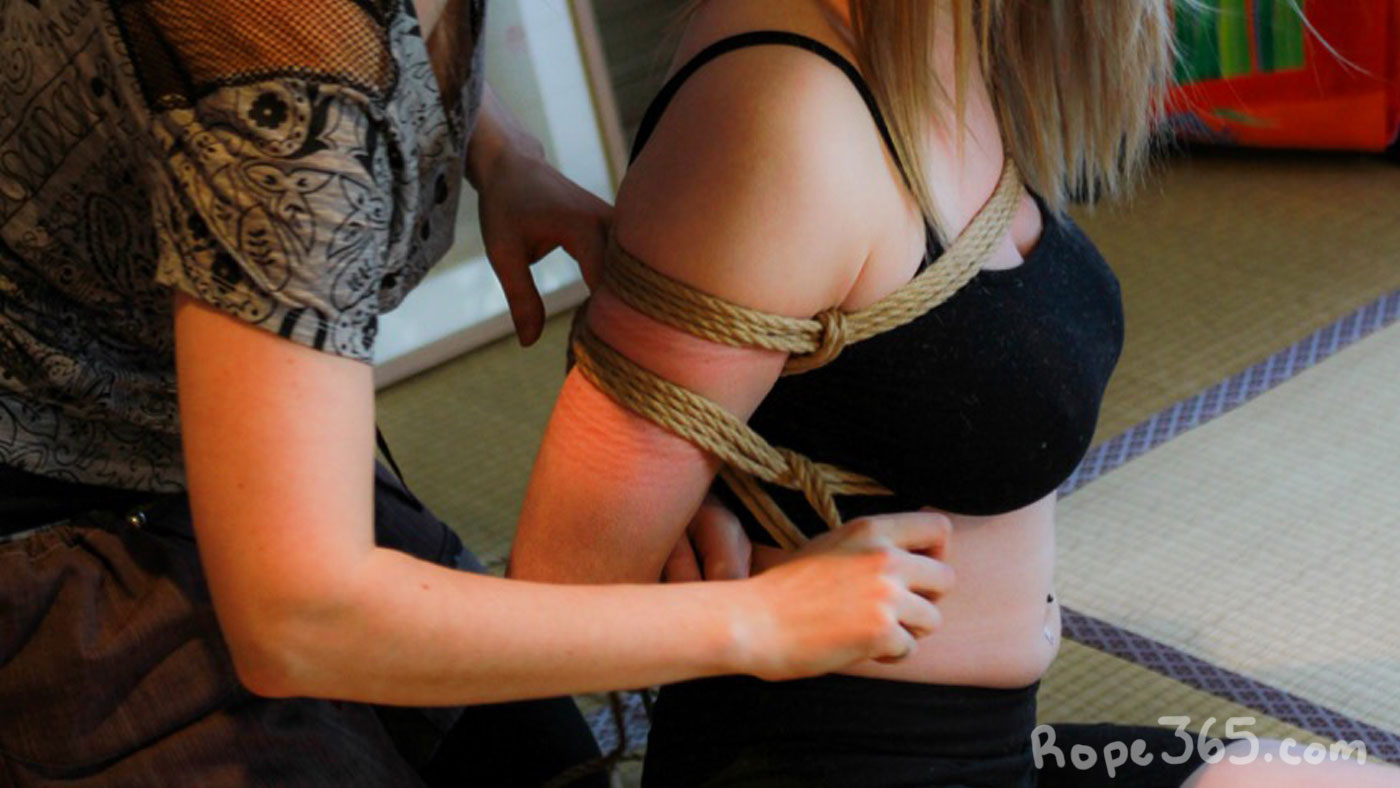
 Day 29: First Rope – Create the basic box tie with just a single column tie around the wrists and one wrap on the chest. Experiment with different arm positions and find out which variation works best for you. Day 29: First Rope – Create the basic box tie with just a single column tie around the wrists and one wrap on the chest. Experiment with different arm positions and find out which variation works best for you. |
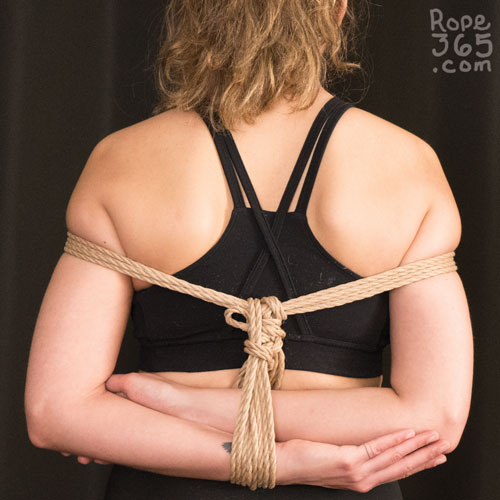
 Day 30: Second Rope – Create a stronger structure and continue the one rope structure by adding a second wrap on the chest and exploring with cinching between the arms and torso. Day 30: Second Rope – Create a stronger structure and continue the one rope structure by adding a second wrap on the chest and exploring with cinching between the arms and torso. |
 Day 31: More Ropes – Continue to expand the pattern with more ropes. This is often referred to as third rope, which many classic patterns. Day 31: More Ropes – Continue to expand the pattern with more ropes. This is often referred to as third rope, which many classic patterns. |
 Day 32: Hybrid Chest Box Tie – Create a box tie that wraps on the torso instead of the arms. Day 32: Hybrid Chest Box Tie – Create a box tie that wraps on the torso instead of the arms. |
 Day 33: Cuffs – Add cuffs to a box tie, replace the wraps with cuffs, and make a box tie using only cuffs. Day 33: Cuffs – Add cuffs to a box tie, replace the wraps with cuffs, and make a box tie using only cuffs. |
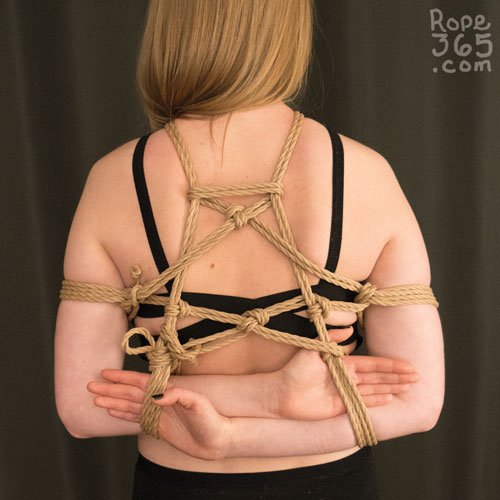
 Day 34: Diamonds – Create a diamond shaped box tie structure. Day 34: Diamonds – Create a diamond shaped box tie structure. |
 Day 35: More Box Ties – Explore other box tie structures. Day 35: More Box Ties – Explore other box tie structures. |
Video References
We compiled a Youtube playlist with various videos on this topic, let us know if you find others we should add to this list. Note that video references may display risky or unstable techniques, viewer discernment is advised.